Taena Kiln Building Weekend September 2009 | ||||
We arrived a t 10 am and Joe Finch explained the plan for the day and illustrated the basic plan for the base f the kiln with this model | 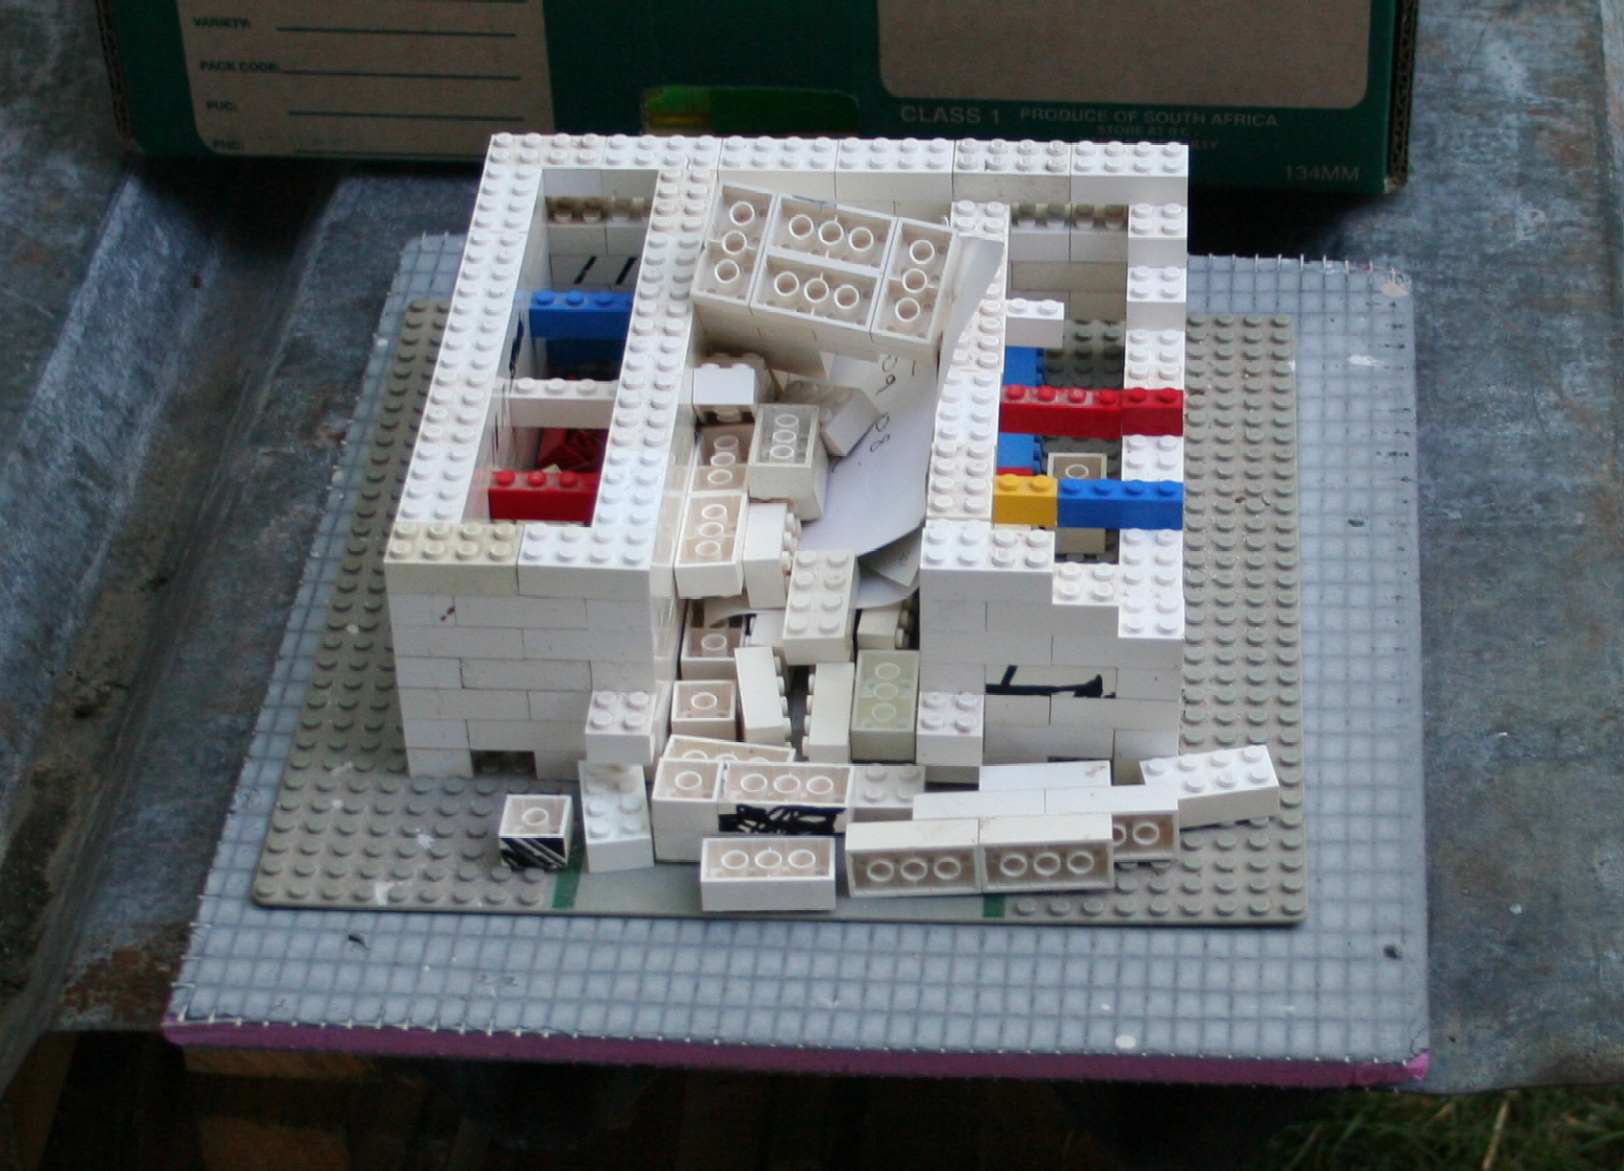 |
|||
|---|---|---|---|---|
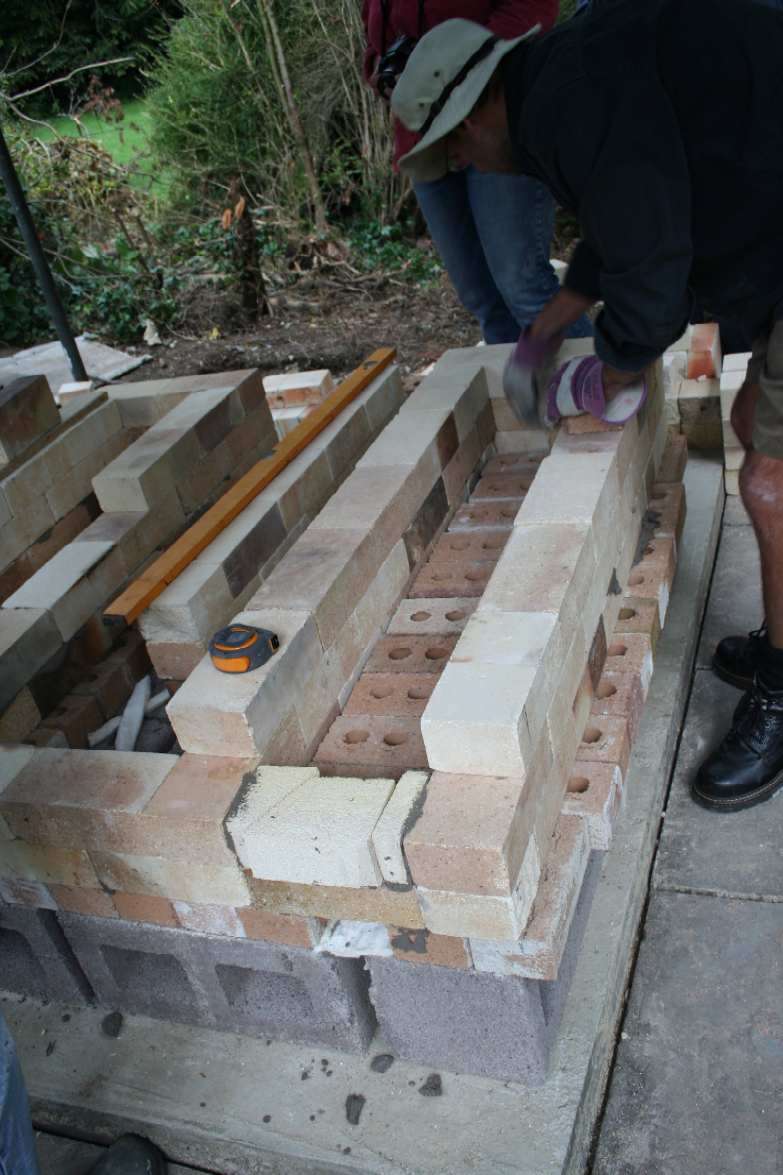 |
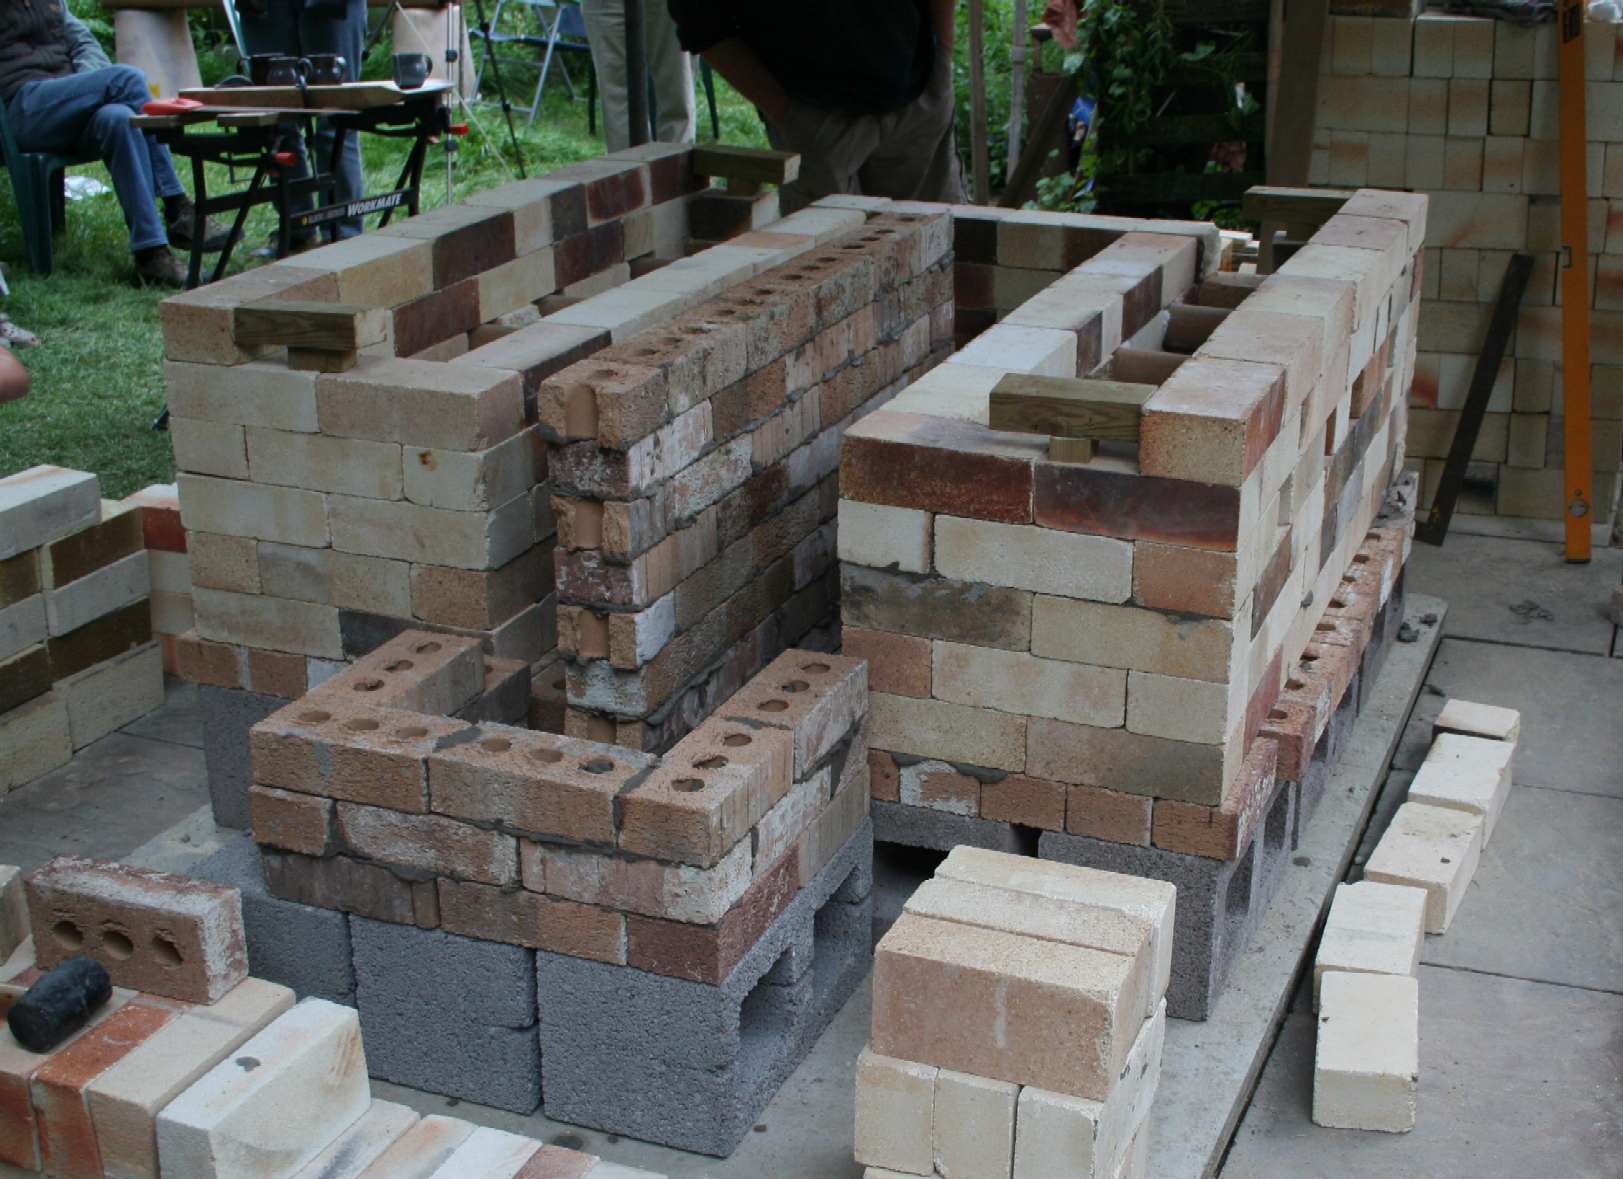
We then turned this into real bricks taking care to keep the courses as level as possible with small additions of fireproof cement |
|||
This photo is taken from the chimney end of the kiln and als shows the kiln prop firebars across what will be the fire boxes | 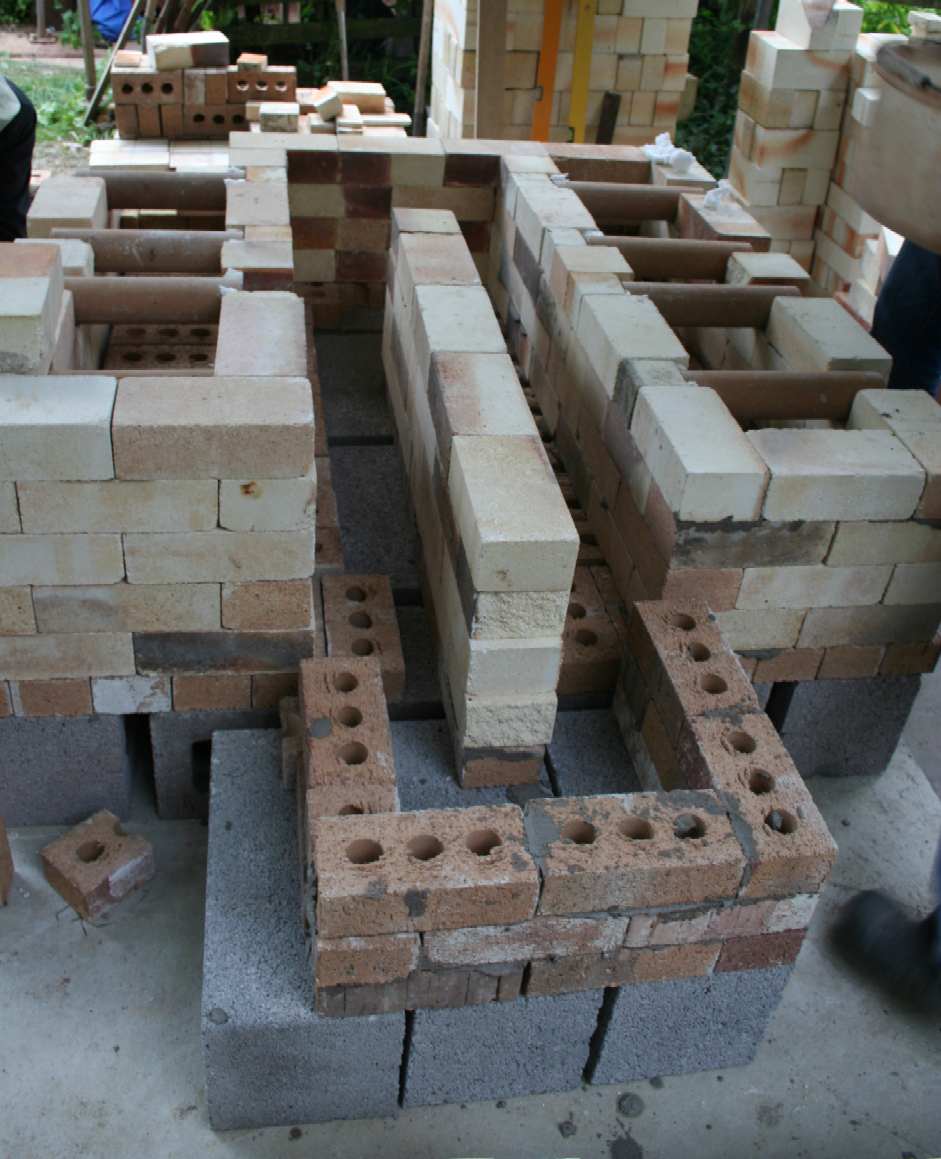 |
|||
 |
| |||
The chamber of the kiln is formed from a catenary arch which should support itself without the need for any cement between the insulating bricks. The arch is made by suspending a chain between two points and then drawing round it. | 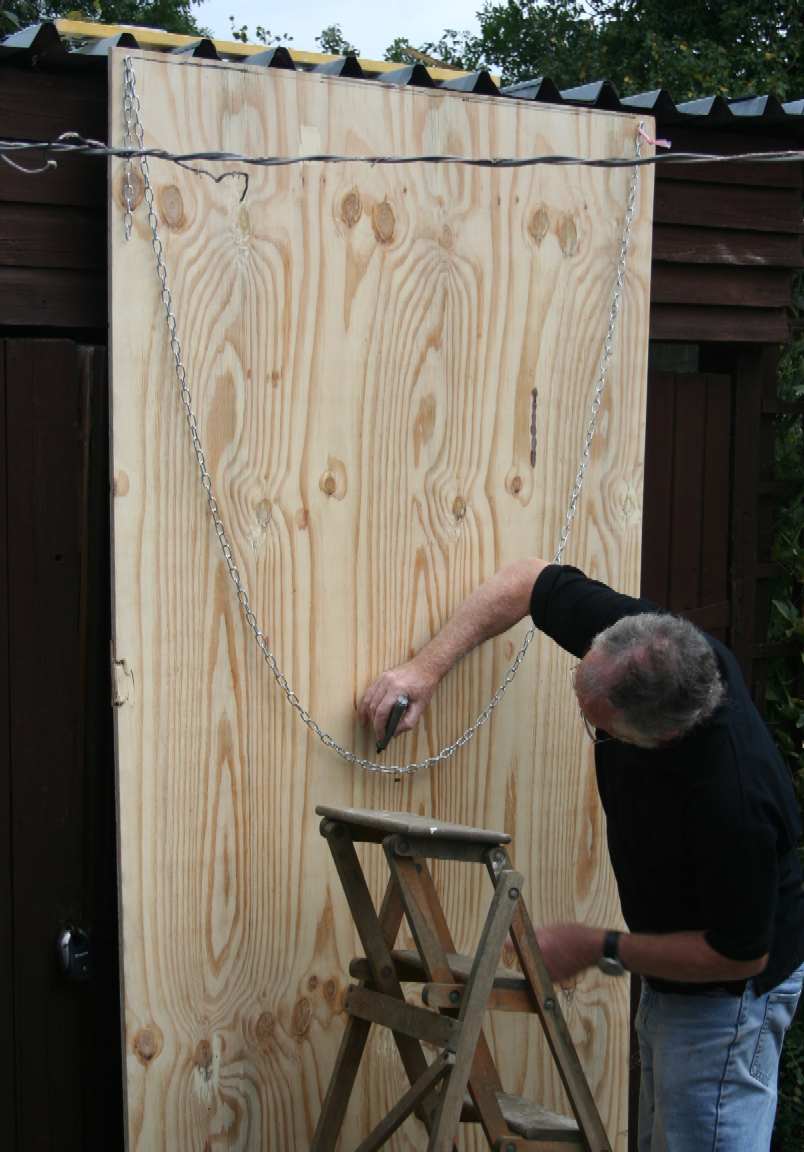 |
|||
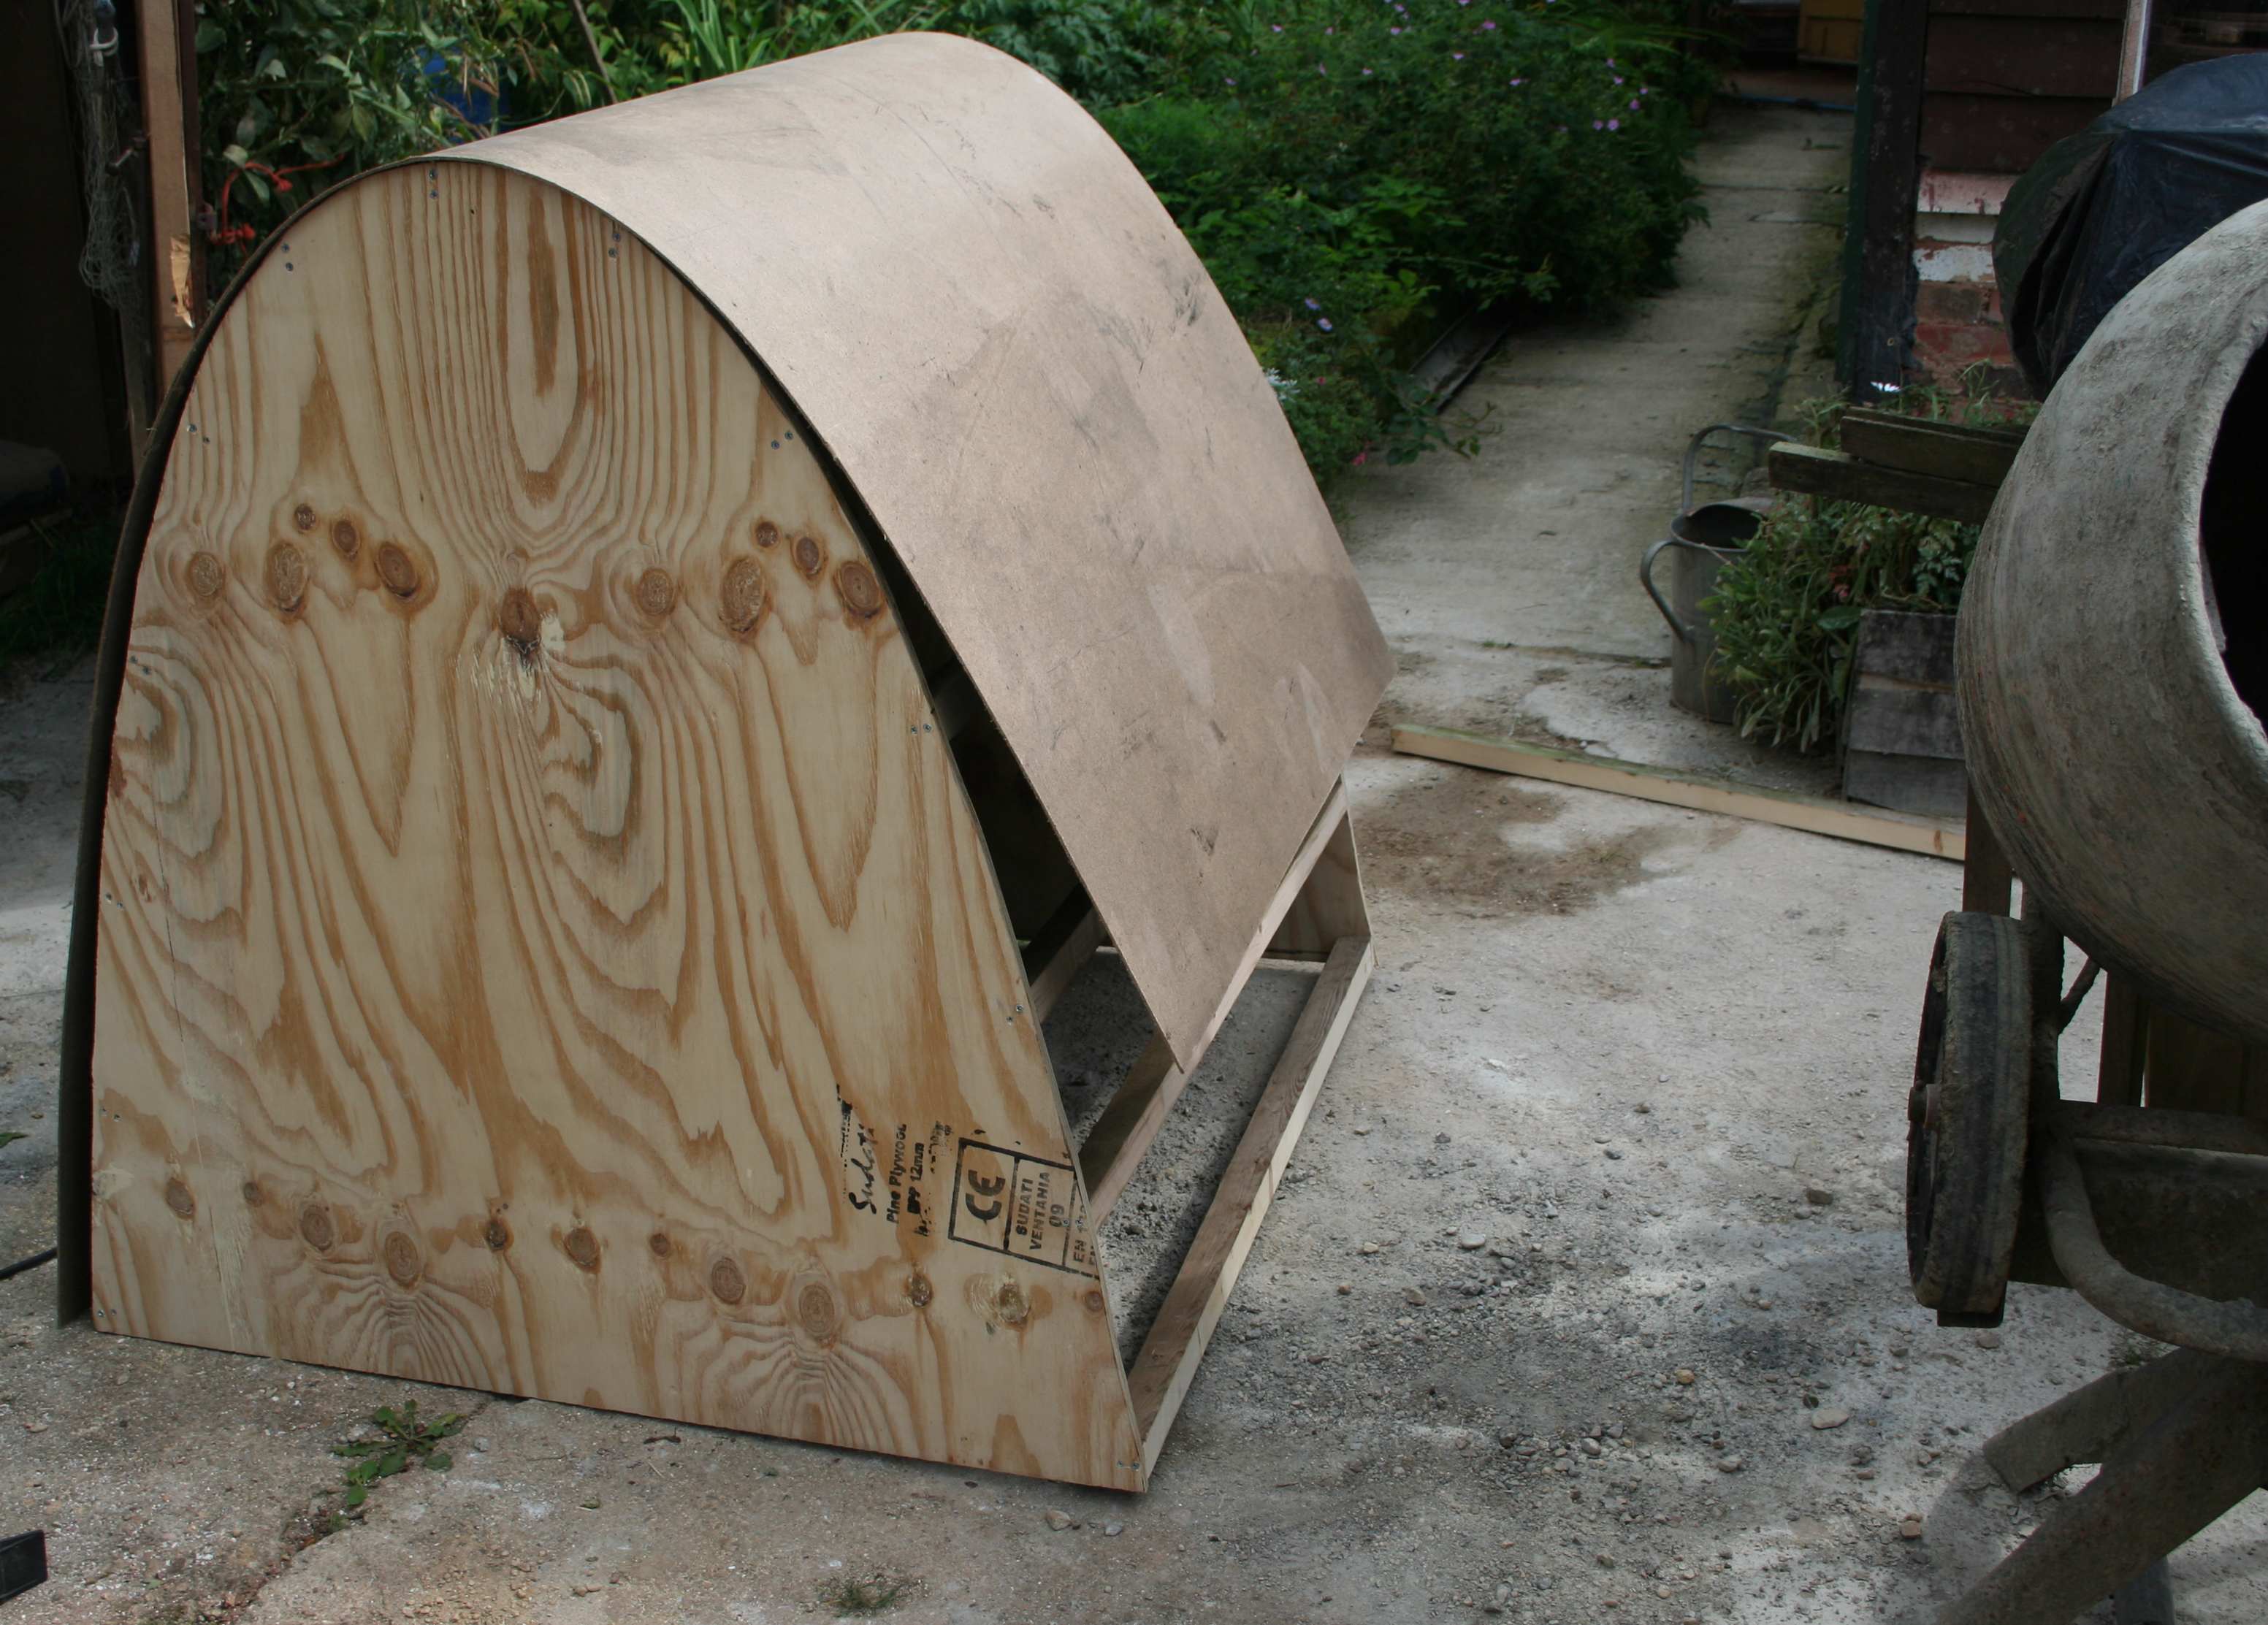 |
The two arches were linked together with battens and then the former was covered with a sheet of medium denisty fibre board
| |||
|
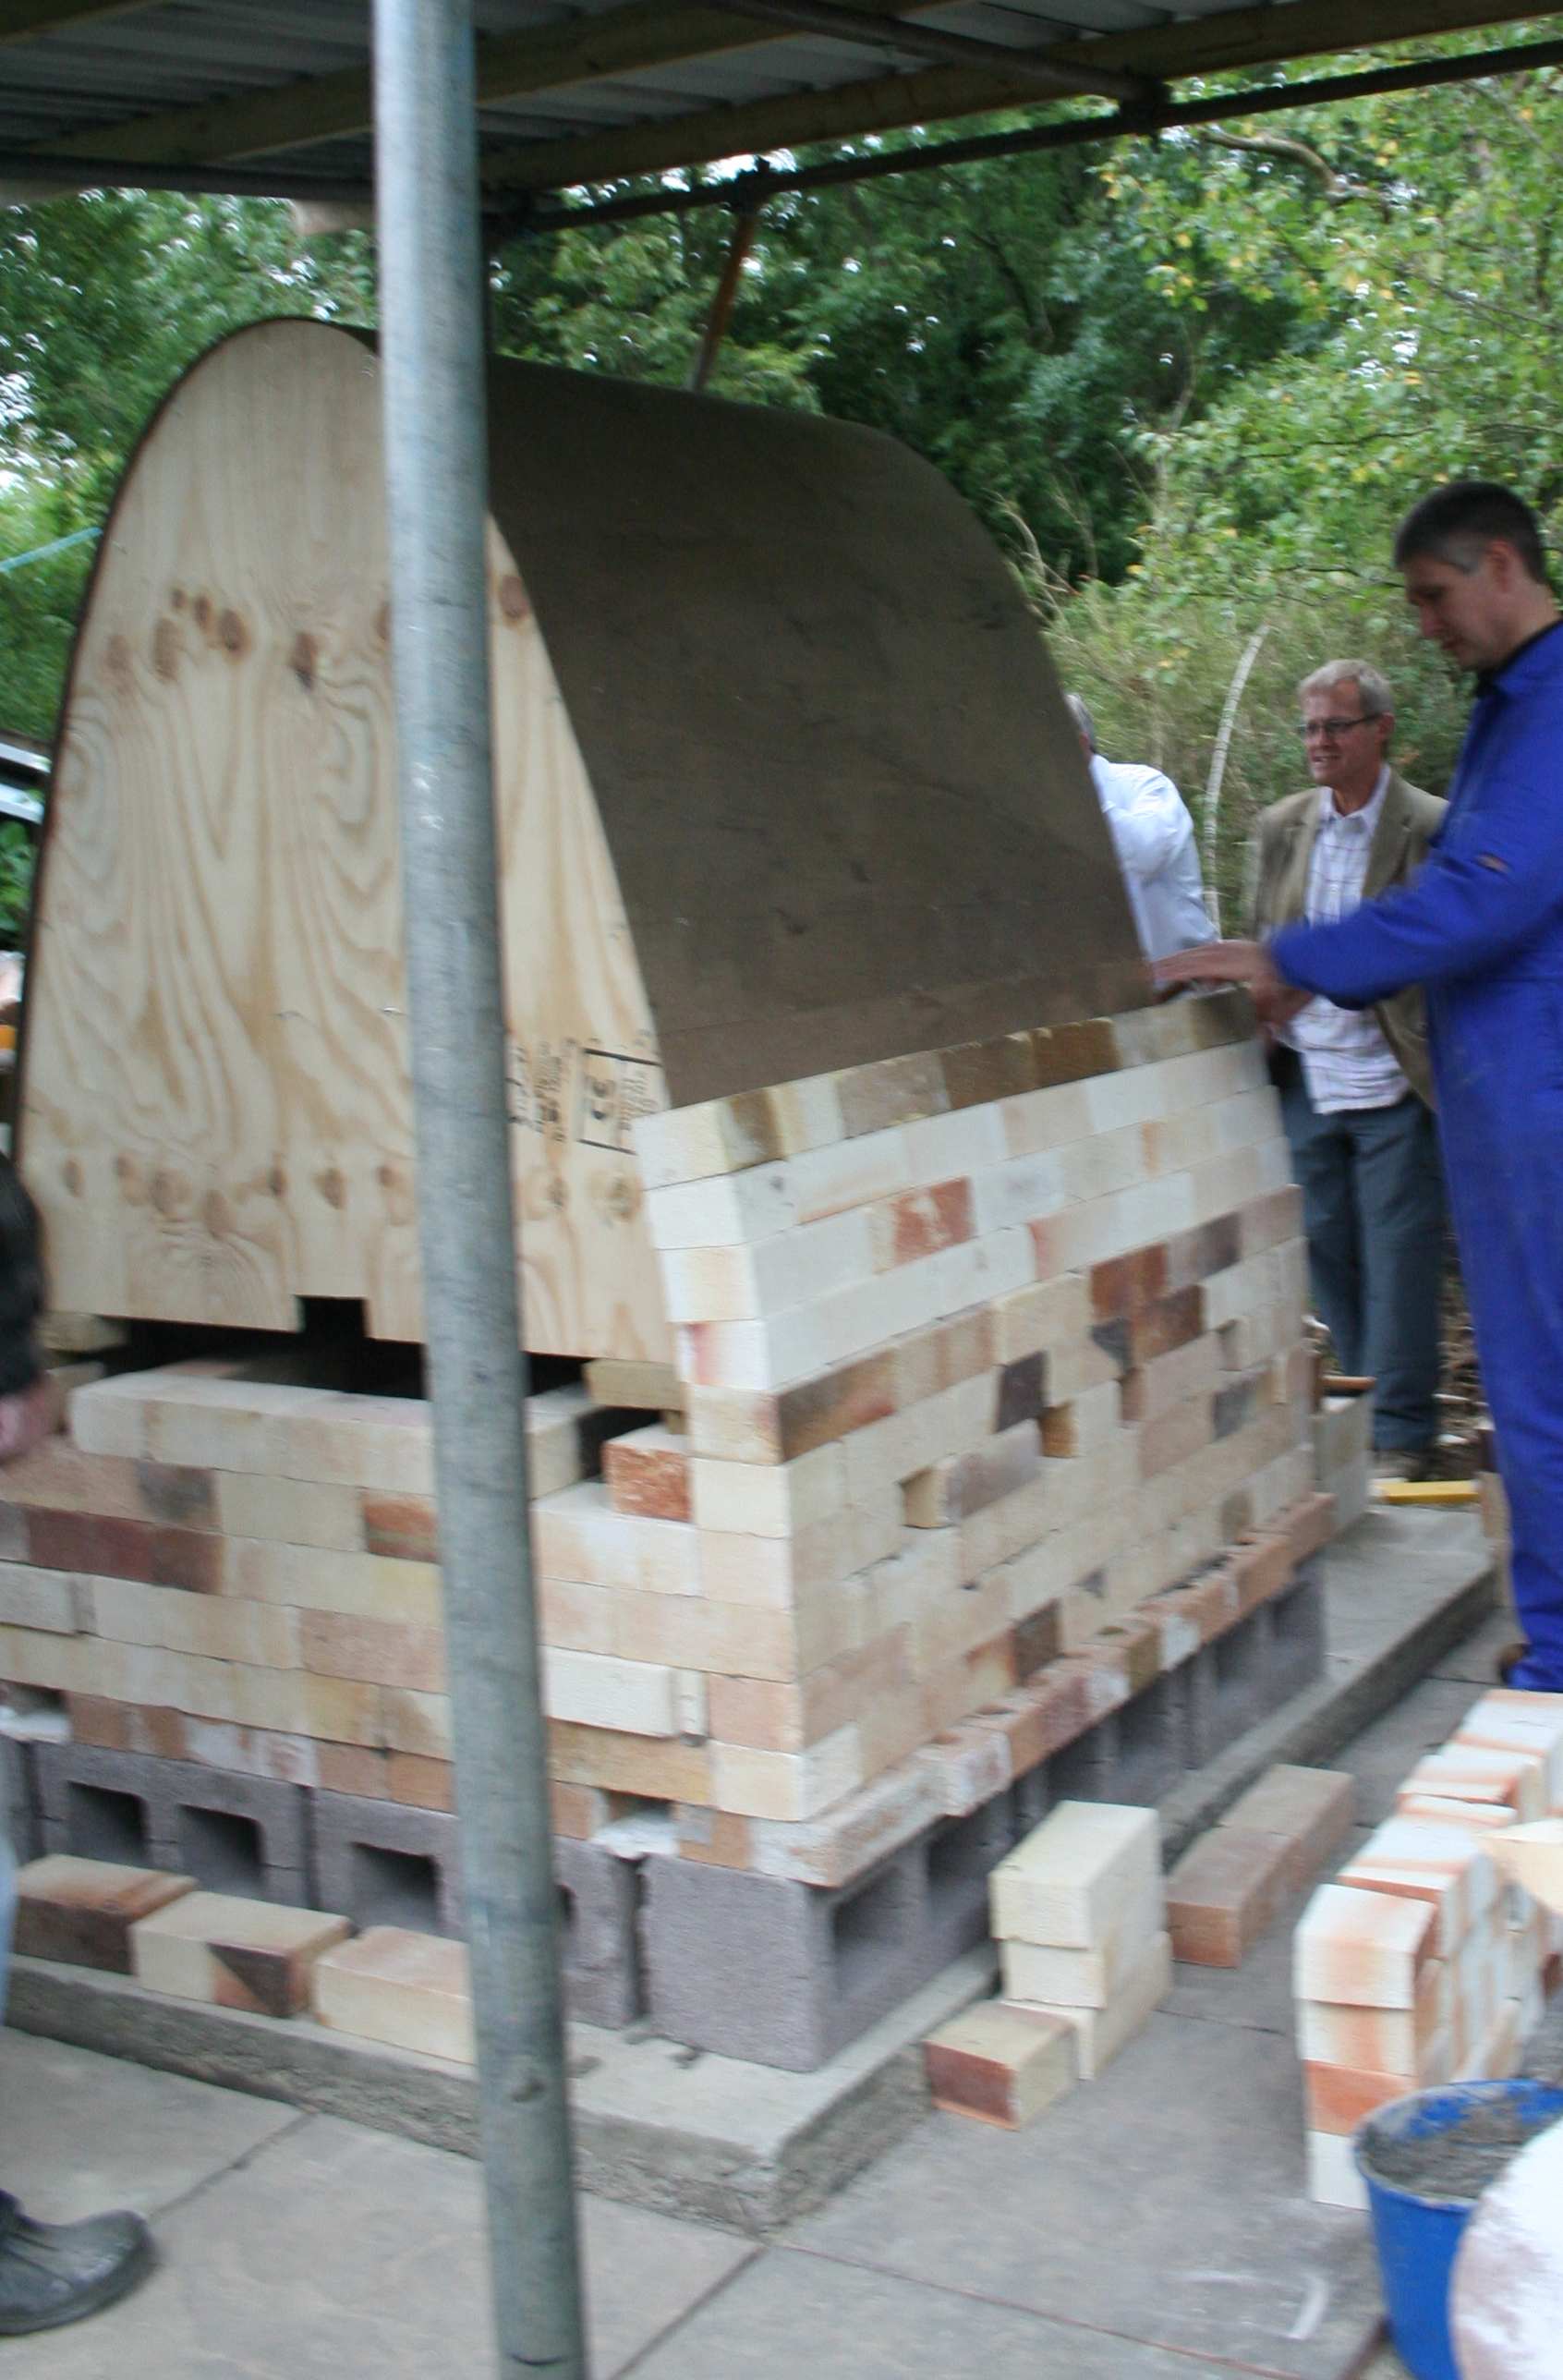
The former was placed on wooden wedges and then the bricks laid over the former. To hold the base of the arch in place the angle irons are placed along side the base of the curve and then bolted together across the front and back of the kiln
|  |
|||
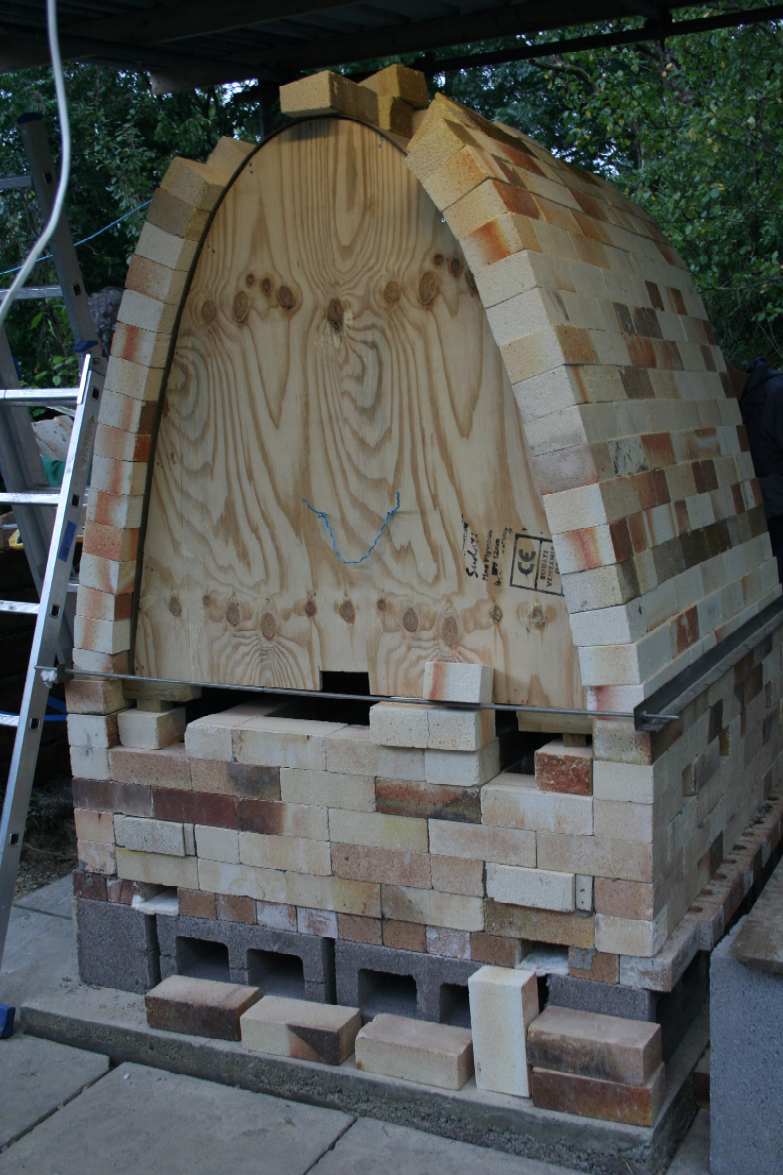 |
As the arch curves more and more of the insulation bricks need to be cut to fit the former | |||
Once the arch is complete the wedges are removed, the former drops and can be taken away
| 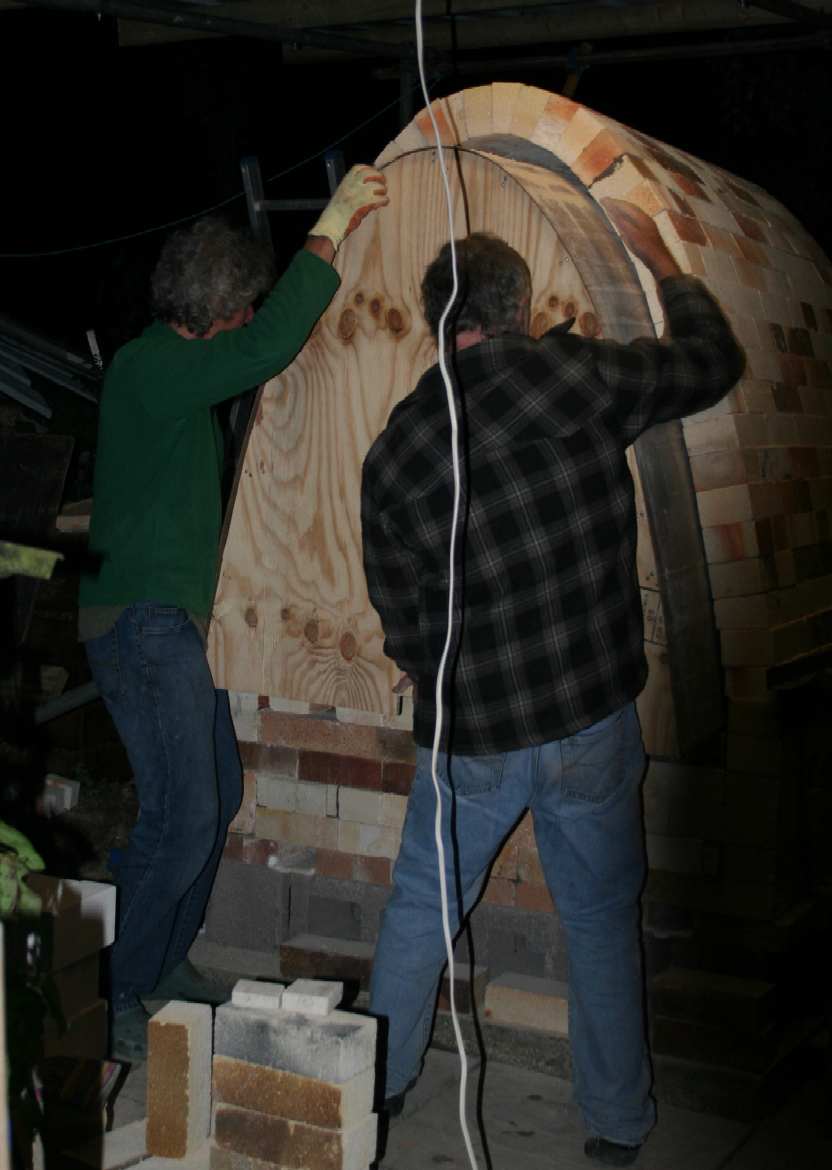 |
|||
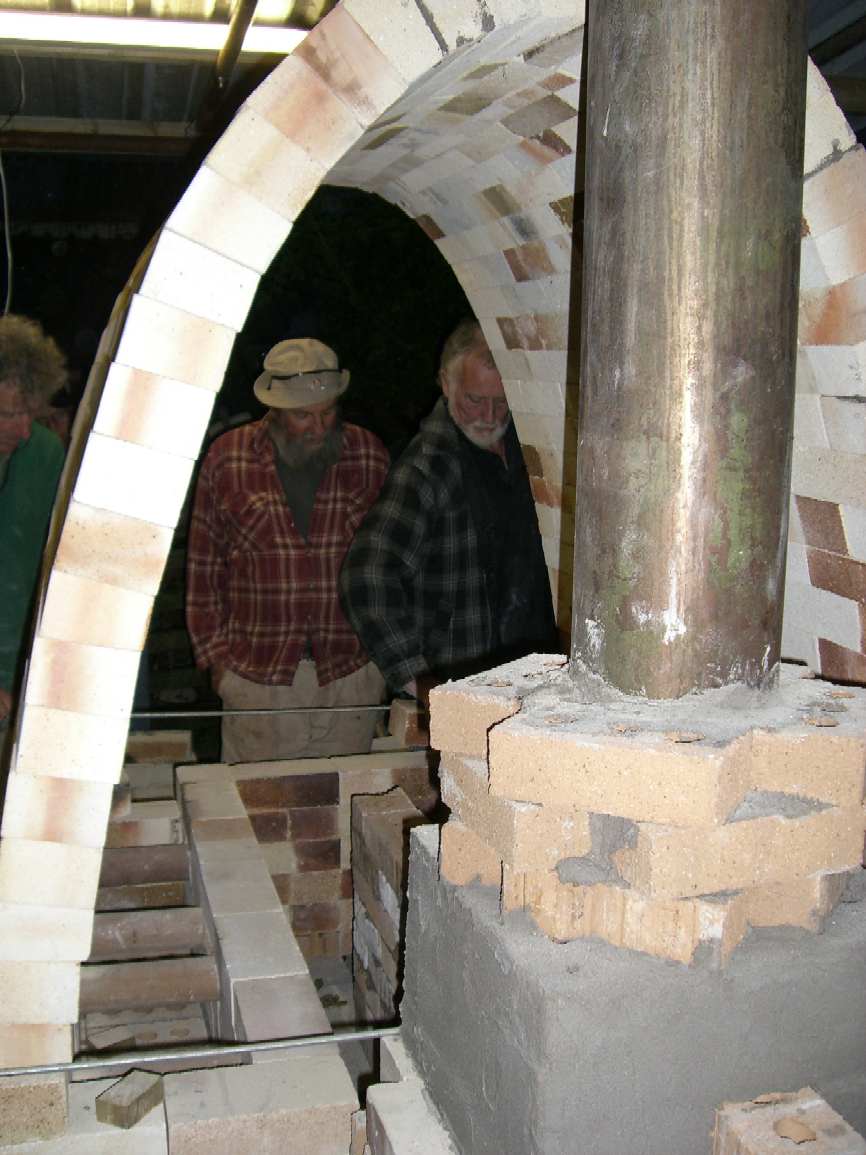 |
Success. The arch stays standing and the back can be bricked up, the floor laid and the kiln packed. Unfortunately it was already 11.00pm so we missed this bit. | |||
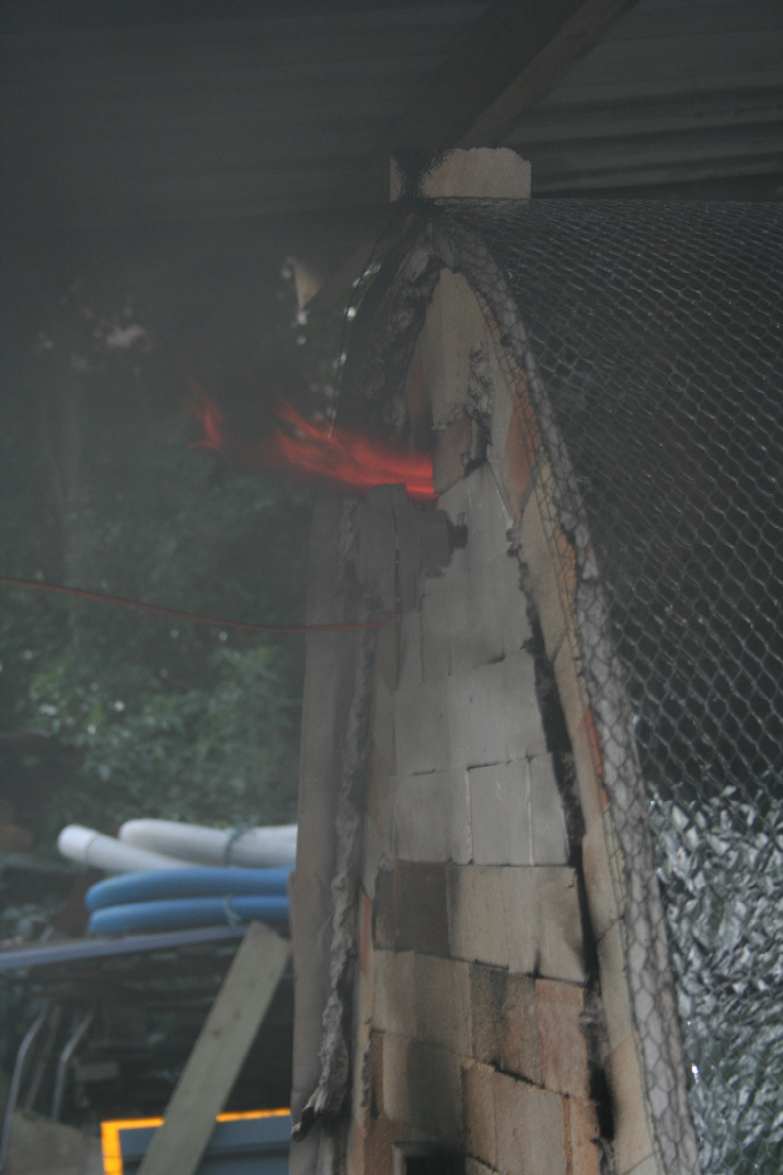
| In order to stand a chance of firing the kiln in a day, firing the kiln started at 7am Sunday initially with gas. This left the insulating to be done before the temperature got too high. Ceramic fibre blanket, aluminium foil and chicken wire were used to cover the kiln. | 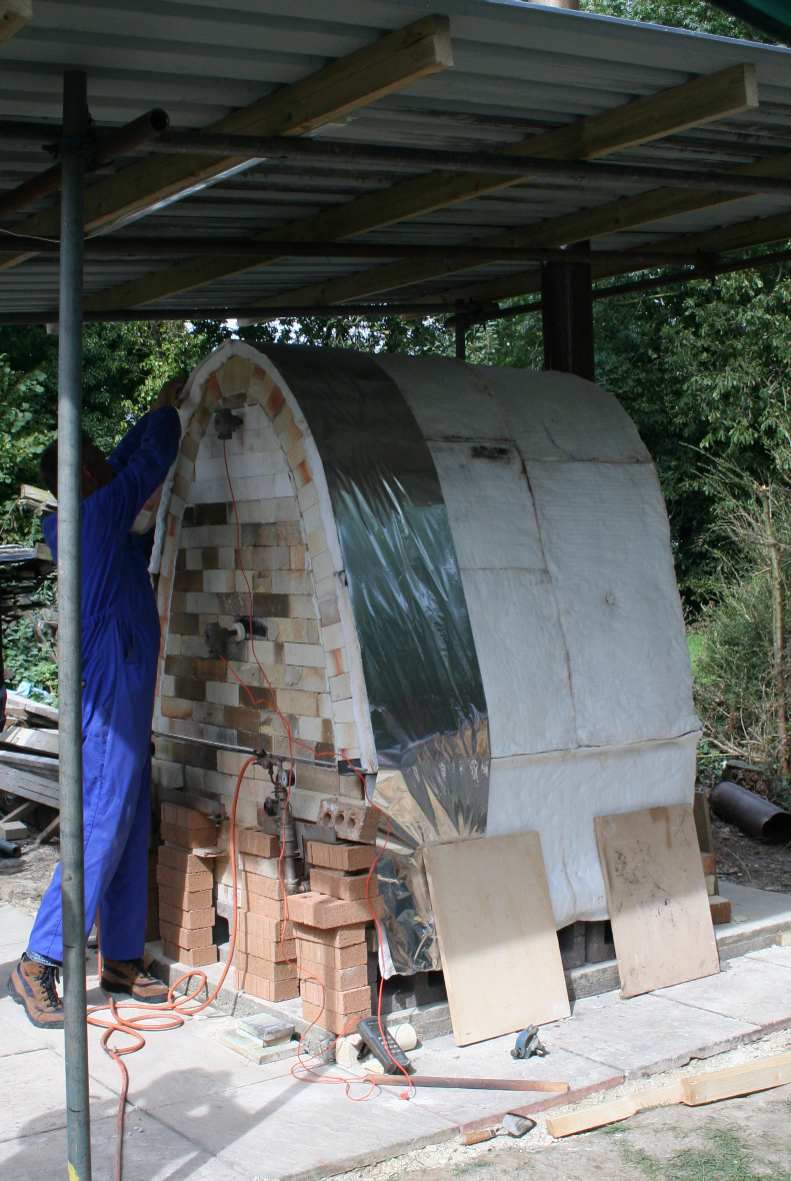 |
|||
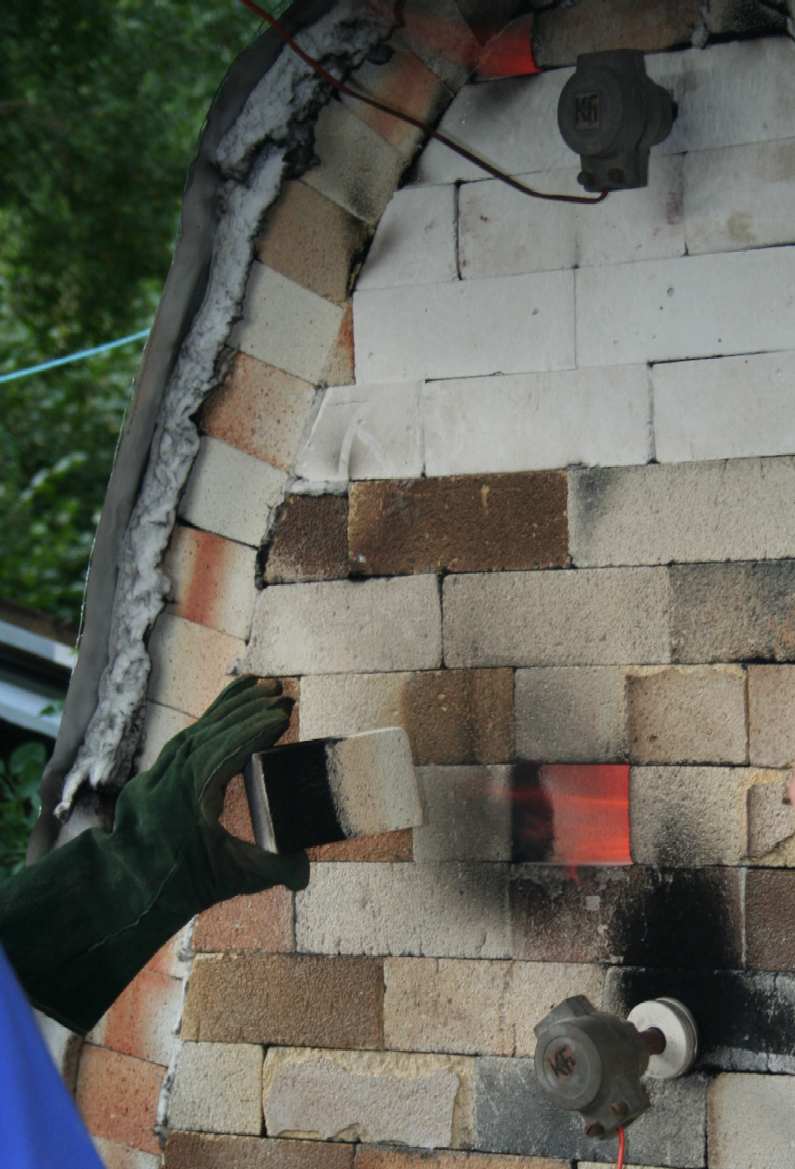 |
Once we finished the insulation the burners were turned off and we started stoking both fire boxes with wood | |||
The
main challenge was stoking and maintaining an oxidising atmosphere. Unfortunatley we were back home when the kiln was opened so we missed seeing the finished products but there is an article in the Autumn 2009 issue of CPA News.
|  |
|||

